Printing Two of my Recent Projects
In the Beginning
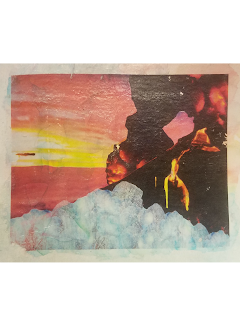
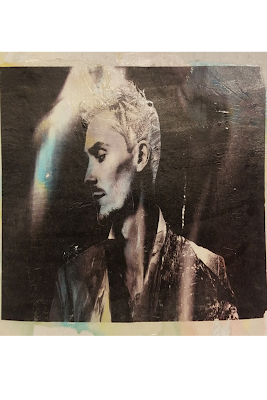
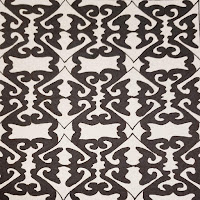
When the assignment came up in class, we were to print two of our projects that we were the most proud of. They were going to be prints of out personal top two picks from our unit in photoshop. The dimensions needed to be an 8in.x10in. in a new photoshop project. After this was finished, our picks needed to be altered to our liking, and transformed to be ale to fit both projects onto one sheet. Now they needed to be flipped horiOnce everything was aligned with even margins, the new project was printed and kept until they were required down the line.
Watercoloring
 Once the projects were put onto paper, we used two pieces of cardstock, and began to create abstract watercolor paintings. When painting, I recalled which parts of the images would be heavily influenced by color. Areas of white become more susceptible to taking in color than colored areas. Colored areas would be emphasized when met with similar color. When finished, these would be left to dry before continuing on with the process.
 Transfer Printing
Now that the watercolor paintings have dried. the two printed projects need to be cut out with about a 1/2 inch margin on all sides for an area to hold onto when applying modpodge to the face of the projects with a foam brush. Once the image becomes difficult to see, it would be placed directly onto the watercolor paintings made previously. A squeegee would then be used to push out the built-up bubbles beneath the surface, to provide a clearer image. Once completed, the modpodge would need to dry in order to progress to removing the paper. To do this step, one needs to take a container of water and dip their fingers in, and begin going over the printed project paper, not the watercolor painting. Once the paper has been wet down, the paper would be taken off by rubbing fingers against the wet paper in a circular motion. Be sure to do this with pressure, but not so much as to damage the overall product. The print is finished when there are no more fuzzy spots remaining on the print from the paper previously there.


Comments
Post a Comment